Setting up Jekyll and GitHub Pages
For me, this was waaay more hassle than I thought it should be. I tried installing Ruby and Jekyll on my Windows machine, but I ran into problems every step of the way. Same with Pelican, which is a python-based static site generator. I ended up with forking a jekyll example project on GitHub, and that way by far the easiest way to get started. So let's get into it!
I forked this project on GitHub, and then I cloned it to my local machine.
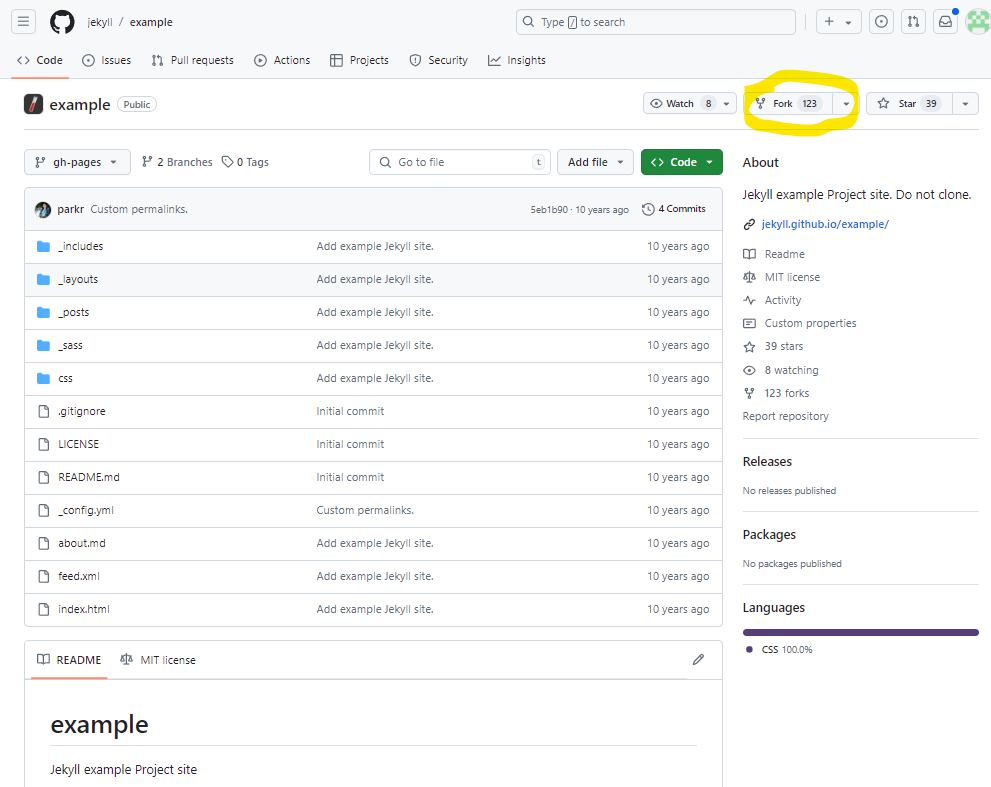
Giving it a name on my account
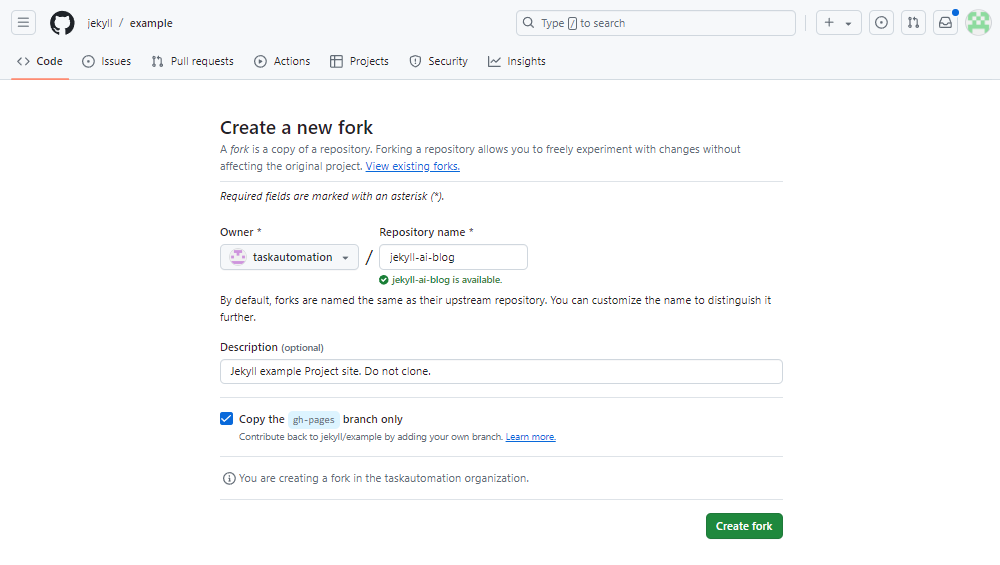
Cloning the project to my local machine was as easy as running the following command in the terminal:
git clone https://github.com/taskautomation/jekyll-ai-blog.git
Then there is a few changes that you need to make in order to get it working properly with GitHub Pages.
PS C:\Users\fredr\jekyll\jekyll-ai-blog> ls


    Directory: C:\Users\fredr\jekyll\jekyll-ai-blog


Mode                 LastWriteTime         Length Name
----                 -------------         ------ ----
d-----         8/22/2024   9:10 PM                css
d-----         8/22/2024   9:10 PM                _includes
d-----         8/22/2024   9:10 PM                _layouts
d-----         8/22/2024   9:10 PM                _posts
d-----         8/22/2024   9:10 PM                _sass
-a----         8/22/2024   9:10 PM             22 .gitignore
-a----         8/22/2024   9:10 PM            481 about.md
-a----         8/22/2024   9:10 PM           1322 feed.xml
-a----         8/22/2024   9:10 PM            529 index.html
-a----         8/22/2024   9:10 PM           1096 LICENSE
-a----         8/22/2024   9:10 PM             49 README.md
-a----         8/22/2024   9:10 PM            618 _config.yml
In the _config.yml file you need to change the baseurl, url and permalink to match your GitHub Pages settings.
Picture of the diff

This is my _config.yml file after editing (i didn't bother to change the twitter and github usernames):
# Site settings
title: My automated AI blog
email: [email protected]
description: >
 This is my automated AI blog where I will instruct an LLM to write blog posts for me.
baseurl: "/jekyll-ai-blog" # set this to the repository name
url: "https://taskautomation.github.io" # your GitHub Pages URL
twitter_username: jekyllrb
github_username:  jekyll

# Build settings
markdown: kramdown
permalink: /:year/:title.:output_ext
Now, commit the changes and push the gh-pages branch to GitHub.
git add .
git commit -m "Updated config"
git push origin gh-pages
This will trigger a build on with GitHub Actions, and you should be able to see your blog at https://taskautomation.github.io/jekyll-ai-blog/ after the build is done.
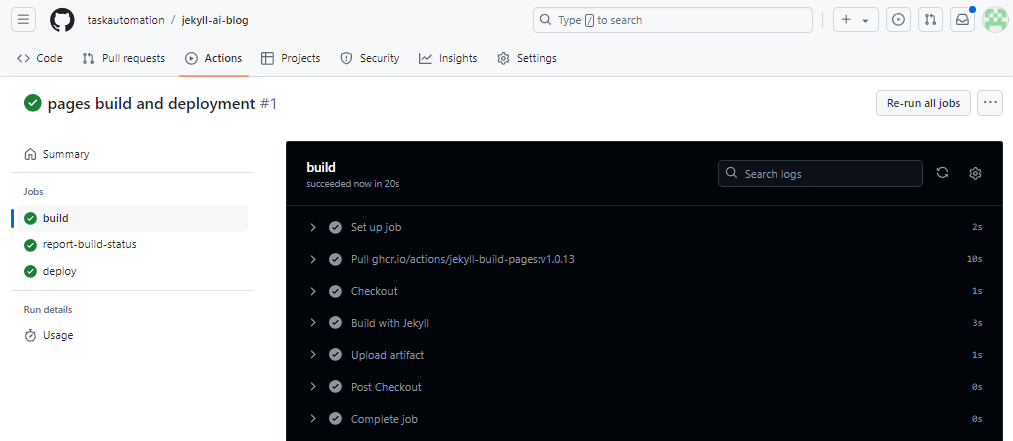
And you can now check it out on GitHub Pages: https://taskautomation.github.io/jekyll-ai-blog/
The URL is http://*your-username*.github.io/*your-repo-name* or you can find it on the build summary:
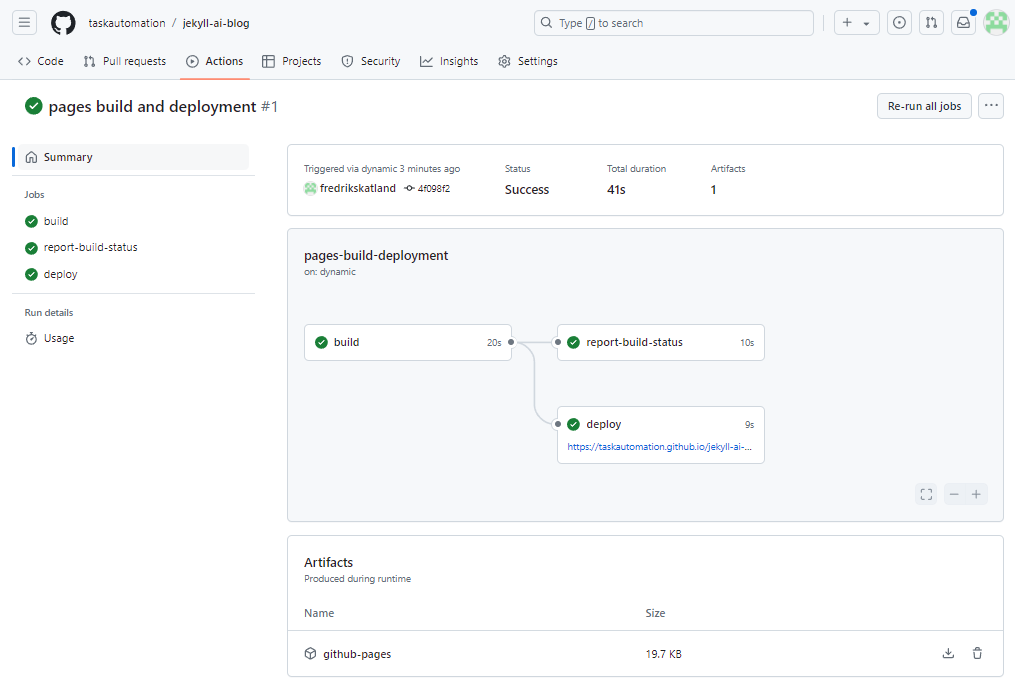
The page looks something like this:
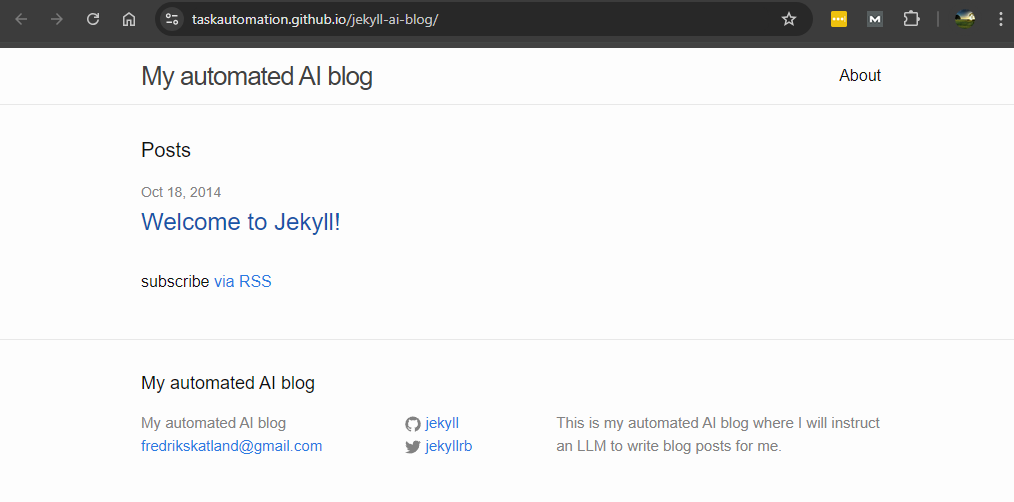
Let's try to add another post and push it to the repository to see if it works. Create a markdown file named something like 2024-08-22-test-post.md in the _posts directory with the following content:
---
layout: post
title:  "Test post"
date:   2024-08-22 12:58:29
categories: jekyll update
---

# Hello world, i guess

## This is a test post

Bye.
The structure of the yaml front matter is important, but the content can be whatever you want.
After you have created the file, commit and push it to GitHub.
git add .
git commit -m "Added test post"
git push origin gh-pages
After the build is done, you should be able to see the new post on your blog.
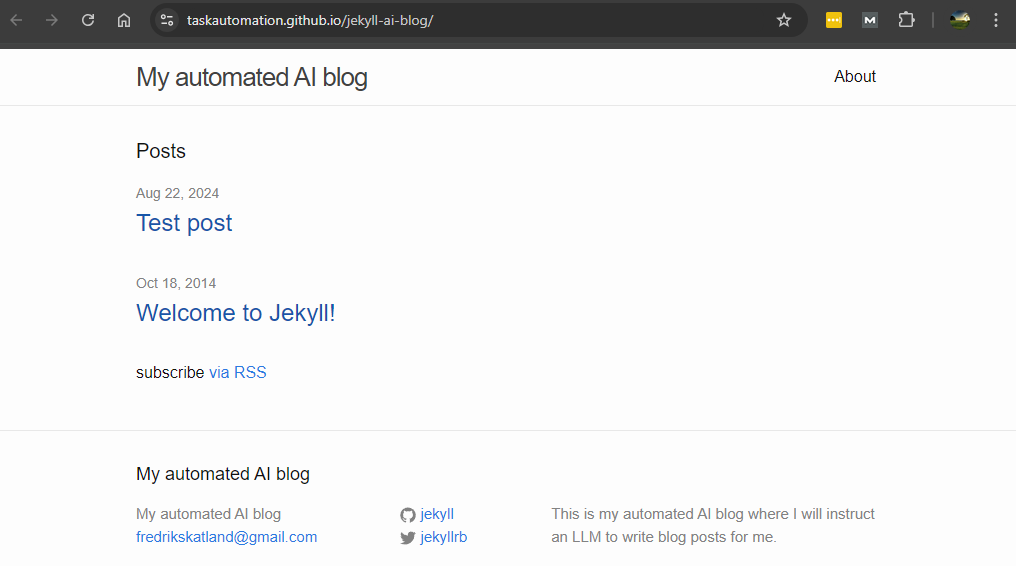
And the post should look something like this:
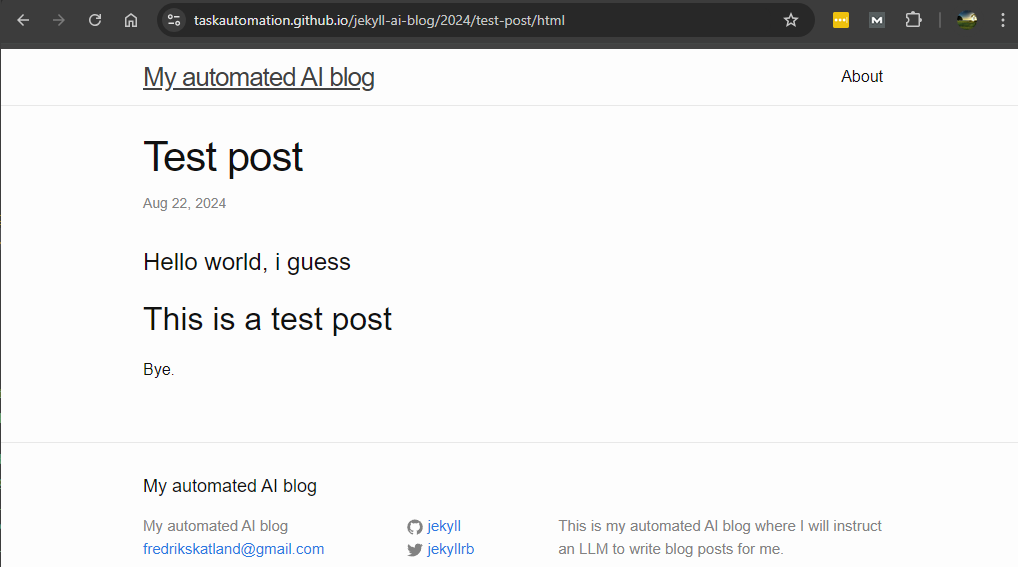
That's it! You now have a blog that you can write posts for in markdown and push to GitHub. You can use this project when you follow along with the blog post How to Build an Automated AI Blogging System
Subscribe to my newsletter.
Get updates on my latest articles and tutorials.
- Weekly articles
- I aim to publish new content every week. I will also share interesting articles and tutorials on my blog.
- No spam
- You will not receive any spam emails. I will only send you the content that you are interested in.